

Strength for Yoga 101
Welcome!
First off, we (Jenni & Travis) want to say thank you for choosing to join us on this journey! We’re so excited to connect with you and support your strength training practice. For those new to strength training, we wanted to offer a short introduction. Below, we’ll go over the overall structure of Remote Group Training as well as the structure of the training sessions and tips for carrying them out. We’ll kick things off with our recommendations for equipment.
required and optional equipment
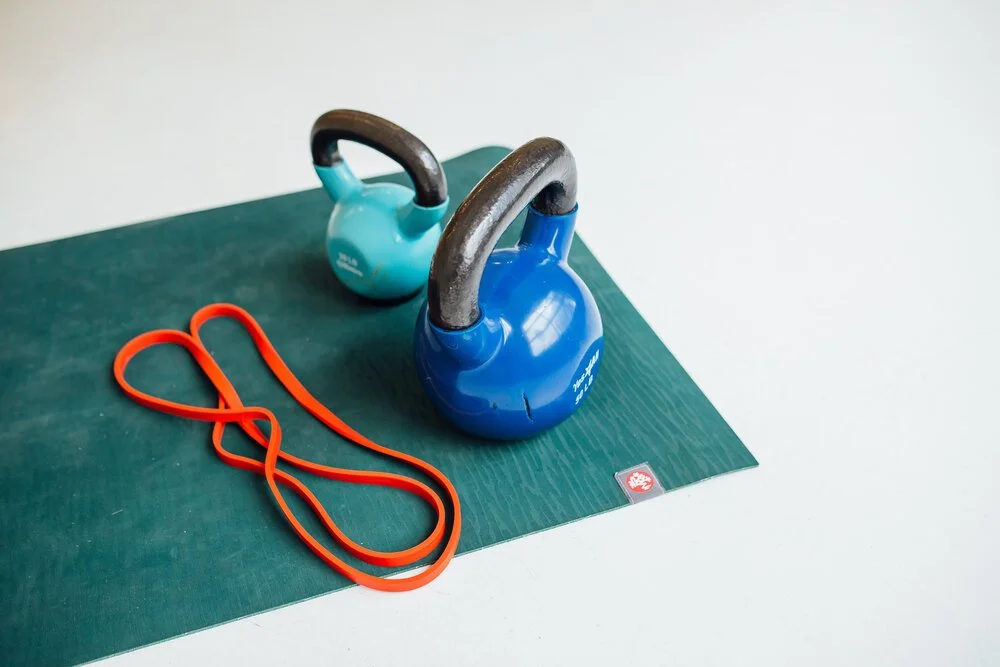
The only pieces of equipment you need for Remote Group Training are a resistance band and two kettlebells (a lighter one and a heavier one).
Resistance band
For the resistance band, we recommend a ½-inch thick superband (one big loop), which provides between 10 and 35 lbs of resistance depending on how far it’s stretched. For additional versatility, you could also pick up ¼-inch and ¾-inch superbands.
Here are a few direct links to these “superband” resistance bands:
1/2-inch thick (10-35 lbs): here and here (If you order just one band, this is the size we recommend!)
Kettlebells (a lighter one and a heavier one)
For the kettlebells, the lighter one should be a weight you can overhead press about 10 times. The heavier one should be a weight that you can’t overhead press once (yet!). For women, this usually works out to 10-20 lbs (4-8 kg) for the lighter one and 30-50 lbs (16-24 kg) for the heavier one. For men, we recommend a 20-30 lb (8-12 kg) kettlebell and a 50-70 lb (24-32 kg) kettlebell.
Please note that you could just as well use dumbbells instead of kettlebells. Any time we refer to a kettlebell in the programs, you can use a dumbbell instead with no drawback. We’re simply recommending kettlebells since dumbbells generally come in pairs, which would be more expensive.
In our experience, all kettlebells do an equally great job of providing resistance in our exercises. We therefore don’t have a favorite or preferred brand at Strength for Yoga.
However, here are a few kettlebell brands Jenni has in her own home collection:
Here’s a short video depicting the equipment Jenni has in her gym.
Additional optional equipment
All of the following equipment is optional.
While we include exercises and video tutorials using these optional pieces of equipment, if you don’t have them we always provide an alternative using only the required equipment.
Yoga mat
Two yoga blocks
Yoga blanket or furniture sliders
(Doorframe) pull-up bar (Jenni has owned and recommends this one!)
Workout bench
Barbell, weight plates, and power rack
structure of training
Remote Group Training is broken into one-month training “phases.” Each phase has a specific theme or focus. Some months, the focus will be a yoga pose; other months, the focus will be a strength training exercise. Based on the focus of the month, many of the exercises in the program will be geared towards building strength for that pose or exercise.
Each phase of training consists of two or three training sessions (your choice). These training sessions will be repeated four times each. For example, if you opt for the 3 day/week track, you could do Day 1 on Monday, Day 2 on Wednesday, and Day 3 on Friday. Then you would repeat those same three training sessions in the second, third, and fourth weeks. After completing that month’s phase, you move on to next month’s phase and carry it out in a similar fashion.
A Monday-Wednesday-Friday training schedule is just one example of how you could plan out the sessions over the course of the week. You can choose whatever plan fits best with your schedule. We do recommend one day between strength training sessions to promote recovery. These off-days don’t all have to be complete rest. For example, on some off-days you could practice yoga (we recommend Jenni’s online class library!), take a brisk walk, or do any other physical activity that feels complementary (not competing) with the strength work.
In our experience, for full mind-body recovery it’s best to have at least one complete off-day from exercise per week (i.e., no more than light walking or stretching). Pay attention to your soreness levels, energy levels, strength levels, mood, and motivation for exercise. If those are all favorable, you’re good! If they start to dip, try lowering the intensity of your off-day activities or taking more rest. Oftentimes it can feel like more exercise must be better, but remember that too much can become counterproductive.
In terms of soreness, you may experience one or two days of post-workout soreness. (Beware, the second day can sometimes be more intense than the first!) This is normal when embarking on a new exercise routine and should dissipate as you repeat the training sessions. If soreness is lasting more than two days, consider reducing the number of sets or repetitions you’re performing. On the other hand, you may not experience any soreness. That’s okay, too. Soreness isn’t a barometer for good training, and not getting sore doesn’t mean you’re not training hard enough.
structure of sessions
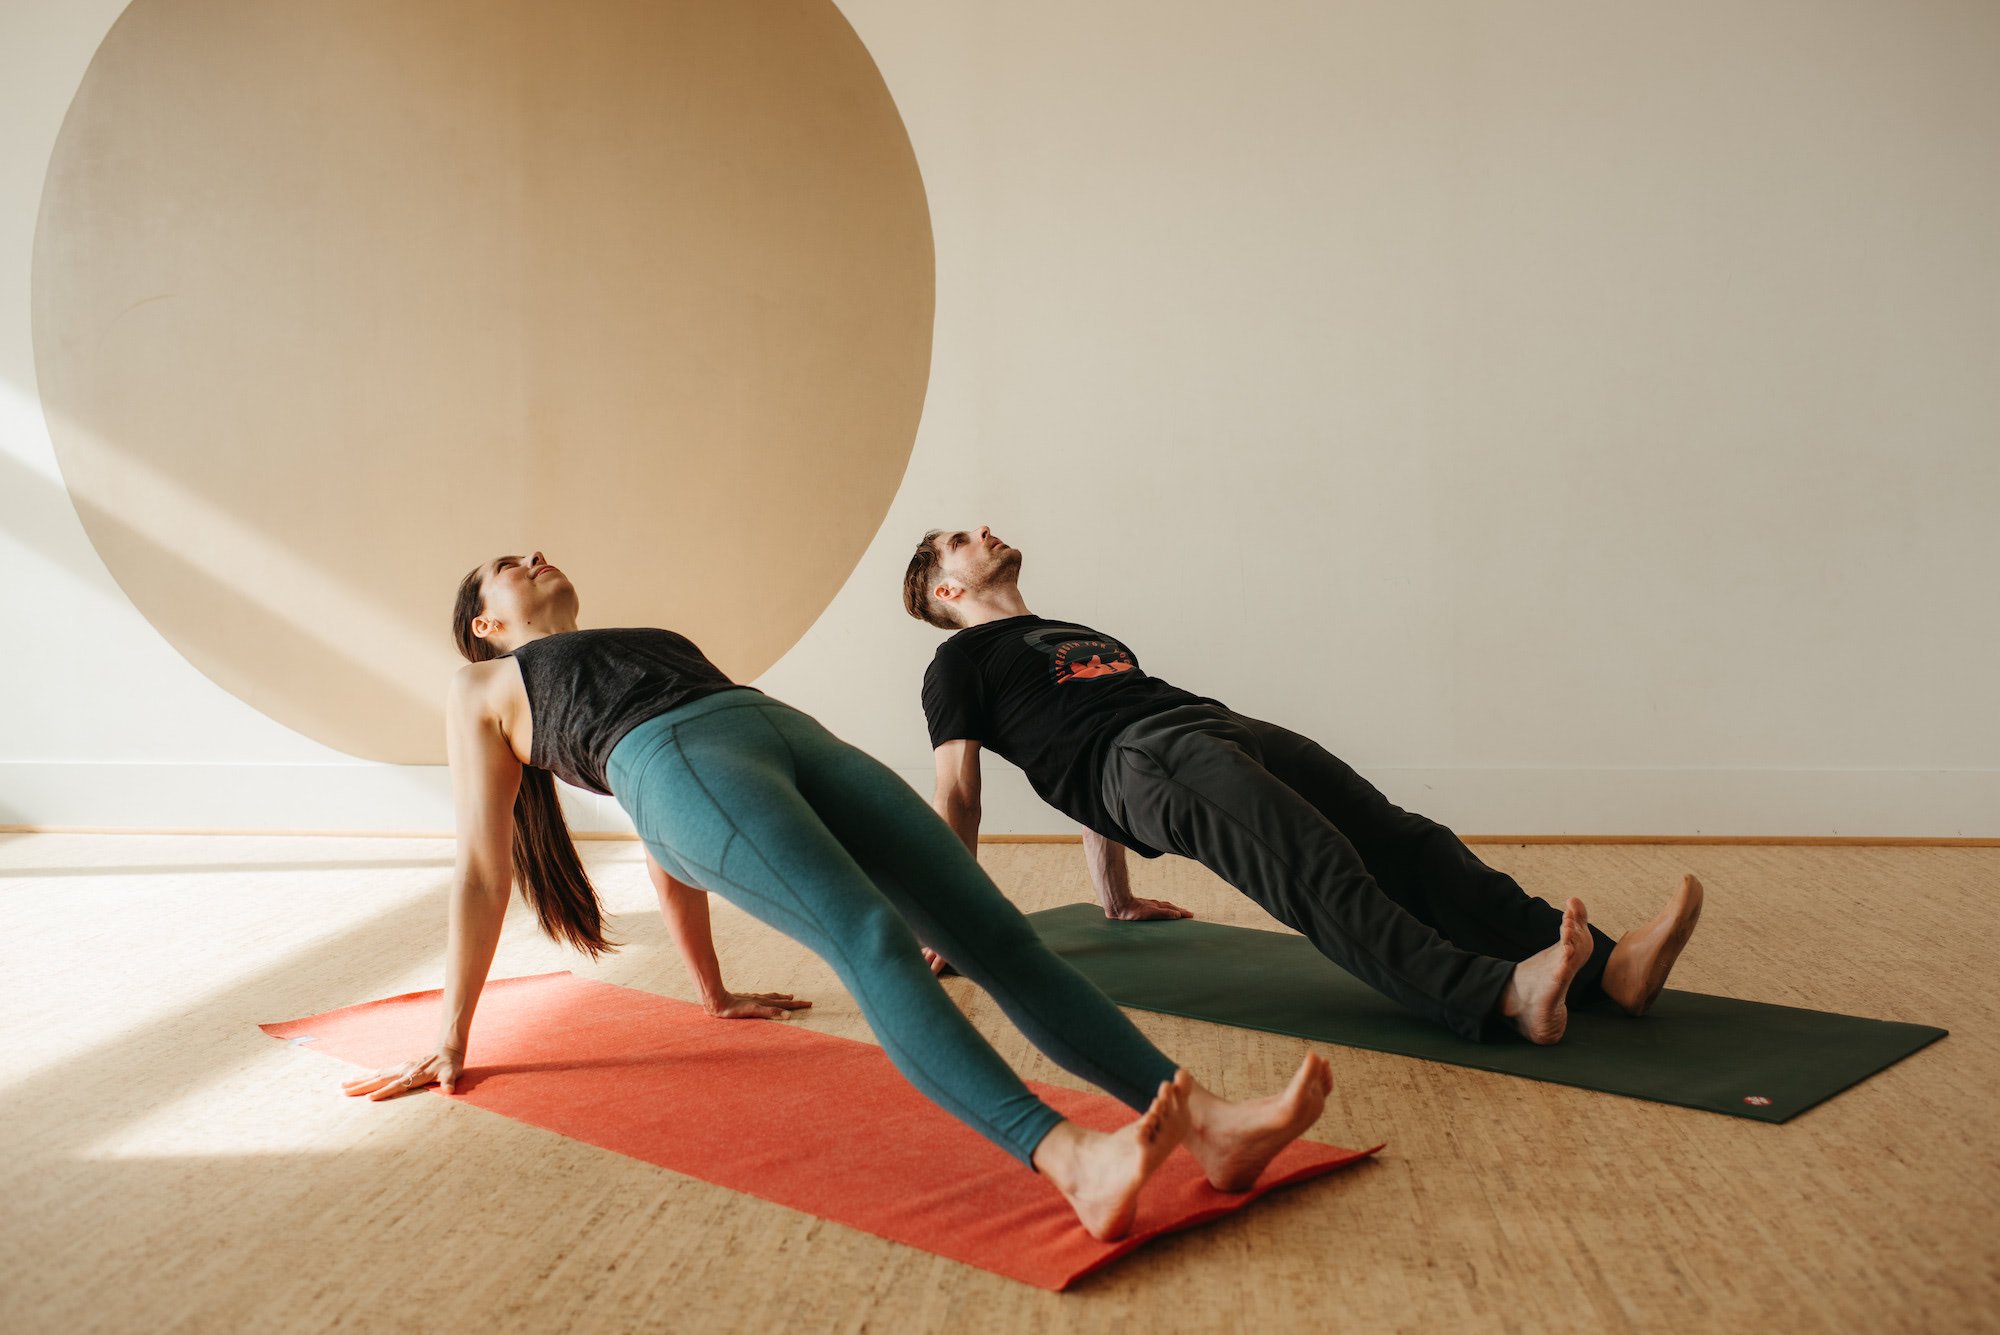
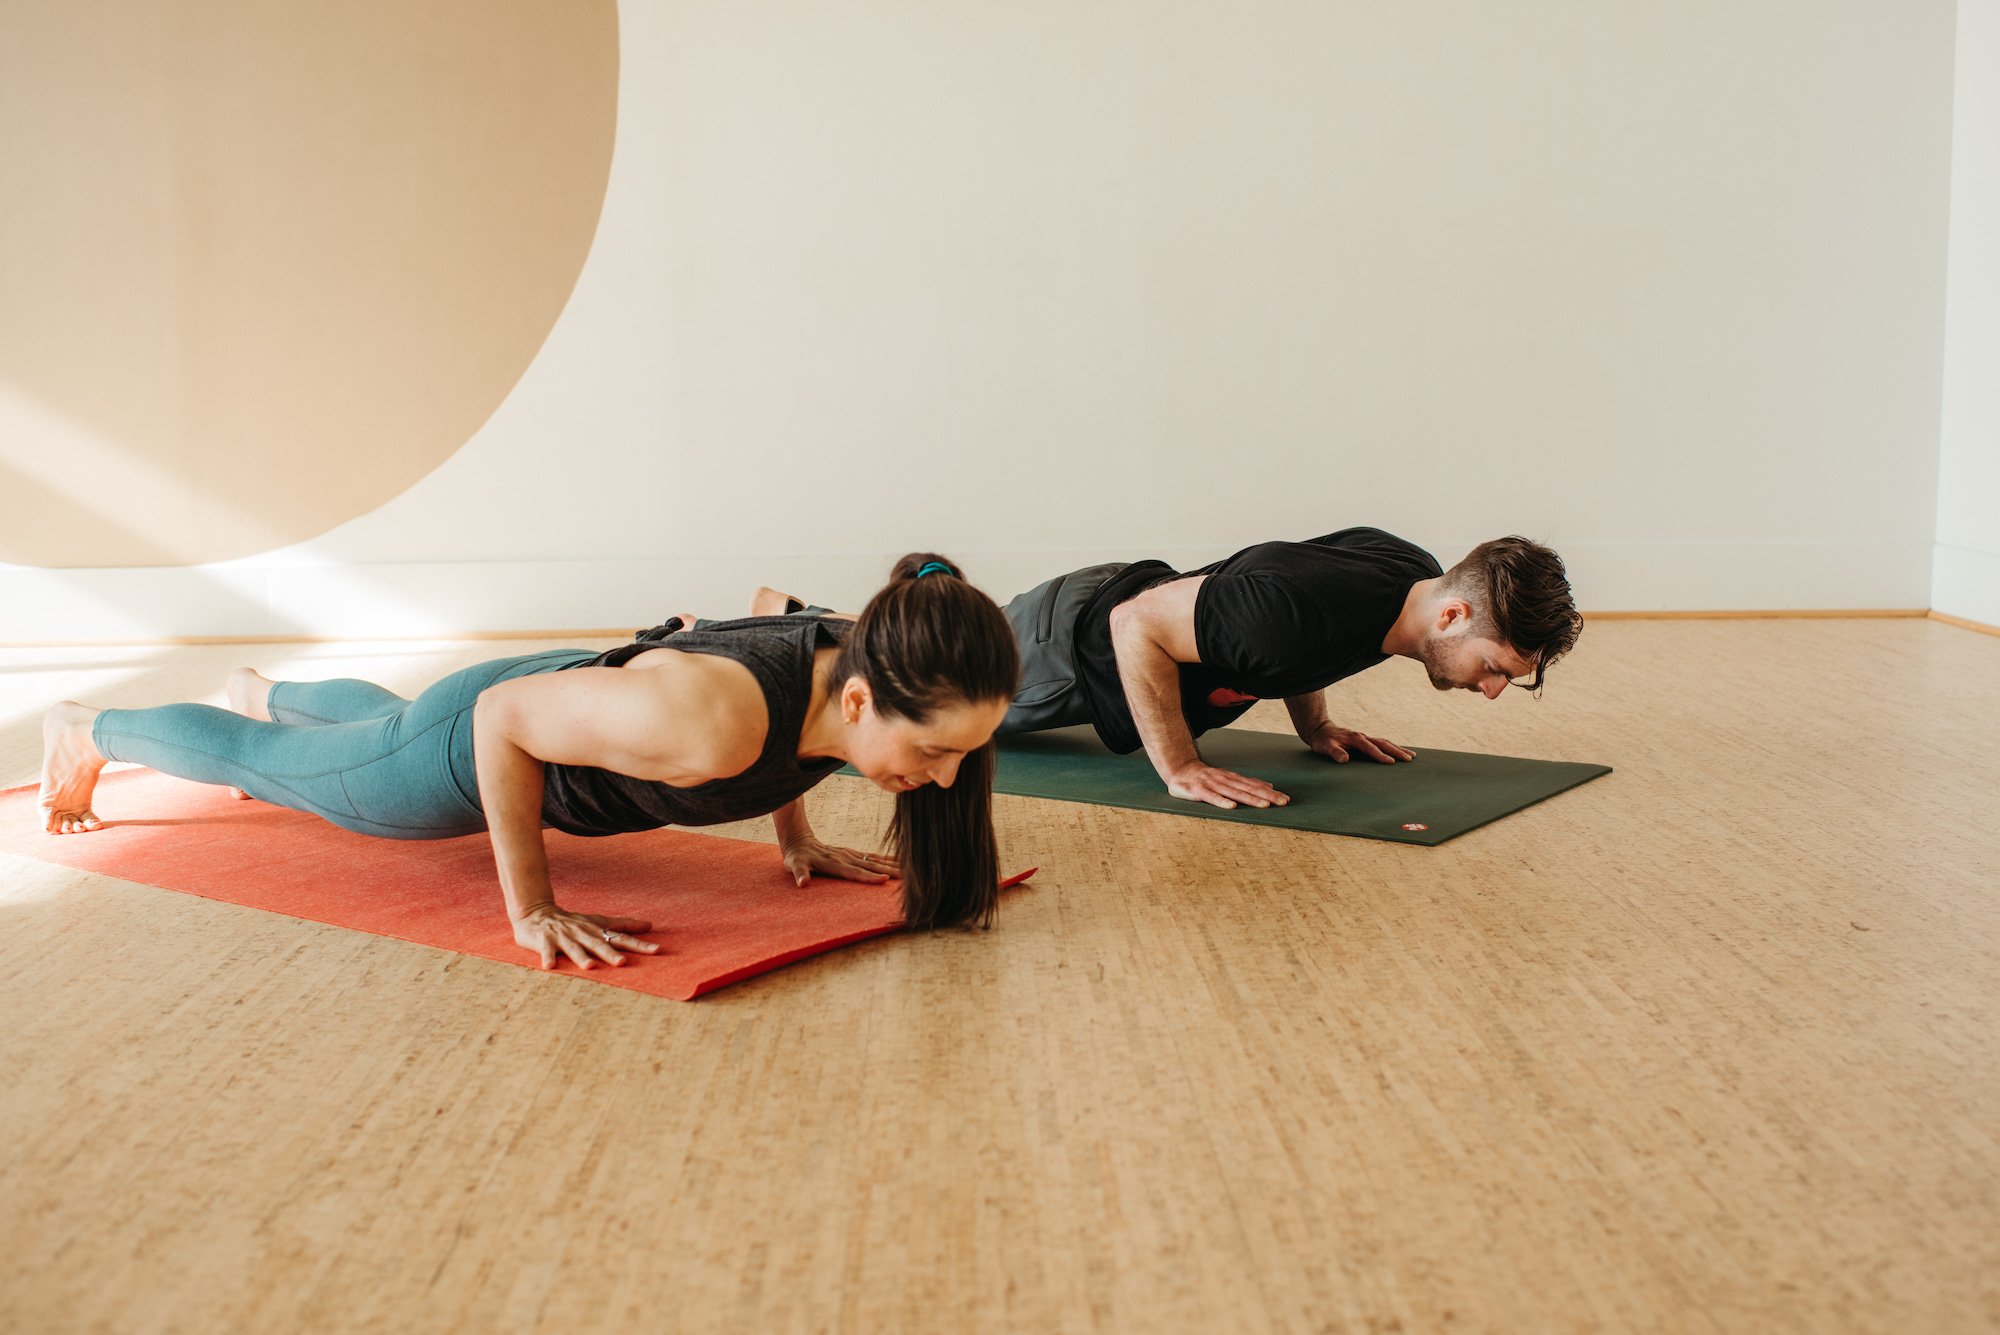
Each training session consists of a 5-10 minute warm-up flow followed by a 30-45 minute “full-body” strength workout, and an optional cool-down. Full-body means that the training session includes exercises that target all parts of the body – the lower body, the upper body, and the core. Altogether, the training sessions should take about an hour to complete, give or take about 15 minutes depending on how much you rest.
Each month we provide two warm-up flow options that mobilize the upper and lower body while asking the whole body to move in multiple planes of motion. These flows are designed to prime your muscles and nervous system for the strength work ahead. Feel free to choose whichever of our flows you prefer each day. You can also design your own warm-up if you like – whatever prepares your body best for the strength work ahead. The goal of a good warm-up is to wake the body up for the subsequent strength work without causing undue fatigue.
For the optional cool-down, the goal is to gradually return the body to its normal resting state. We suggest several options: stretching, self-massage, savasana, seated meditation, or a short walk. Feel free to choose from our options, do a different cool-down activity that meets your needs, or forego the cool-down entirely if you feel like you don’t need it.
supersets & rest
The strength work in each training session consists of eight exercises performed in four “supersets” (denoted by the letters A, B, C, and D). A superset is a fancy word for a pair of exercises done back-to-back. For example, suppose you have a superset A of squats (exercise A1) and push-ups (exercise A2). To perform this superset, you would do your first set of squats, then move briskly to your first set of push-ups. After the first set of push-ups, you would rest for a minute or two, then return to the squats for your second set of the superset.
Example
If the session called for 2-3 sets of superset A, that would like like this:
Set #1: Squats / Push-Ups / 1-2 minute rest
Set #2: Squats / Push-Ups / 1-2 minute rest
Set #3 (Optional): Squats / Push-Ups / 1-2 minute rest
You would then perform supersets B, C, and D in a similar fashion.
You’ll notice that for most weeks, the prescribed number of sets is three. Three sets generally provide a sufficient training stimulus without diminishing returns. In the first week of each phase, we lower the recommendation to 2-3 sets. This is meant to accommodate for extra time familiarizing yourself with new exercises if need be.
We’ve opted for supersets in these programs because they save time. Instead of just resting between sets of squats, you’re doing push-ups. And vice versa: instead of just resting between sets of push-ups, you’re doing squats. Relatedly, supersets spread fatigue out between different parts of the body.
One word of caution: avoid the urge to skip the rest between sets of the superset. Adequate rest enables you to train more optimally (i.e., do more reps or use heavier weight). This in turn builds more strength, which is the name of the game!
exercise versions
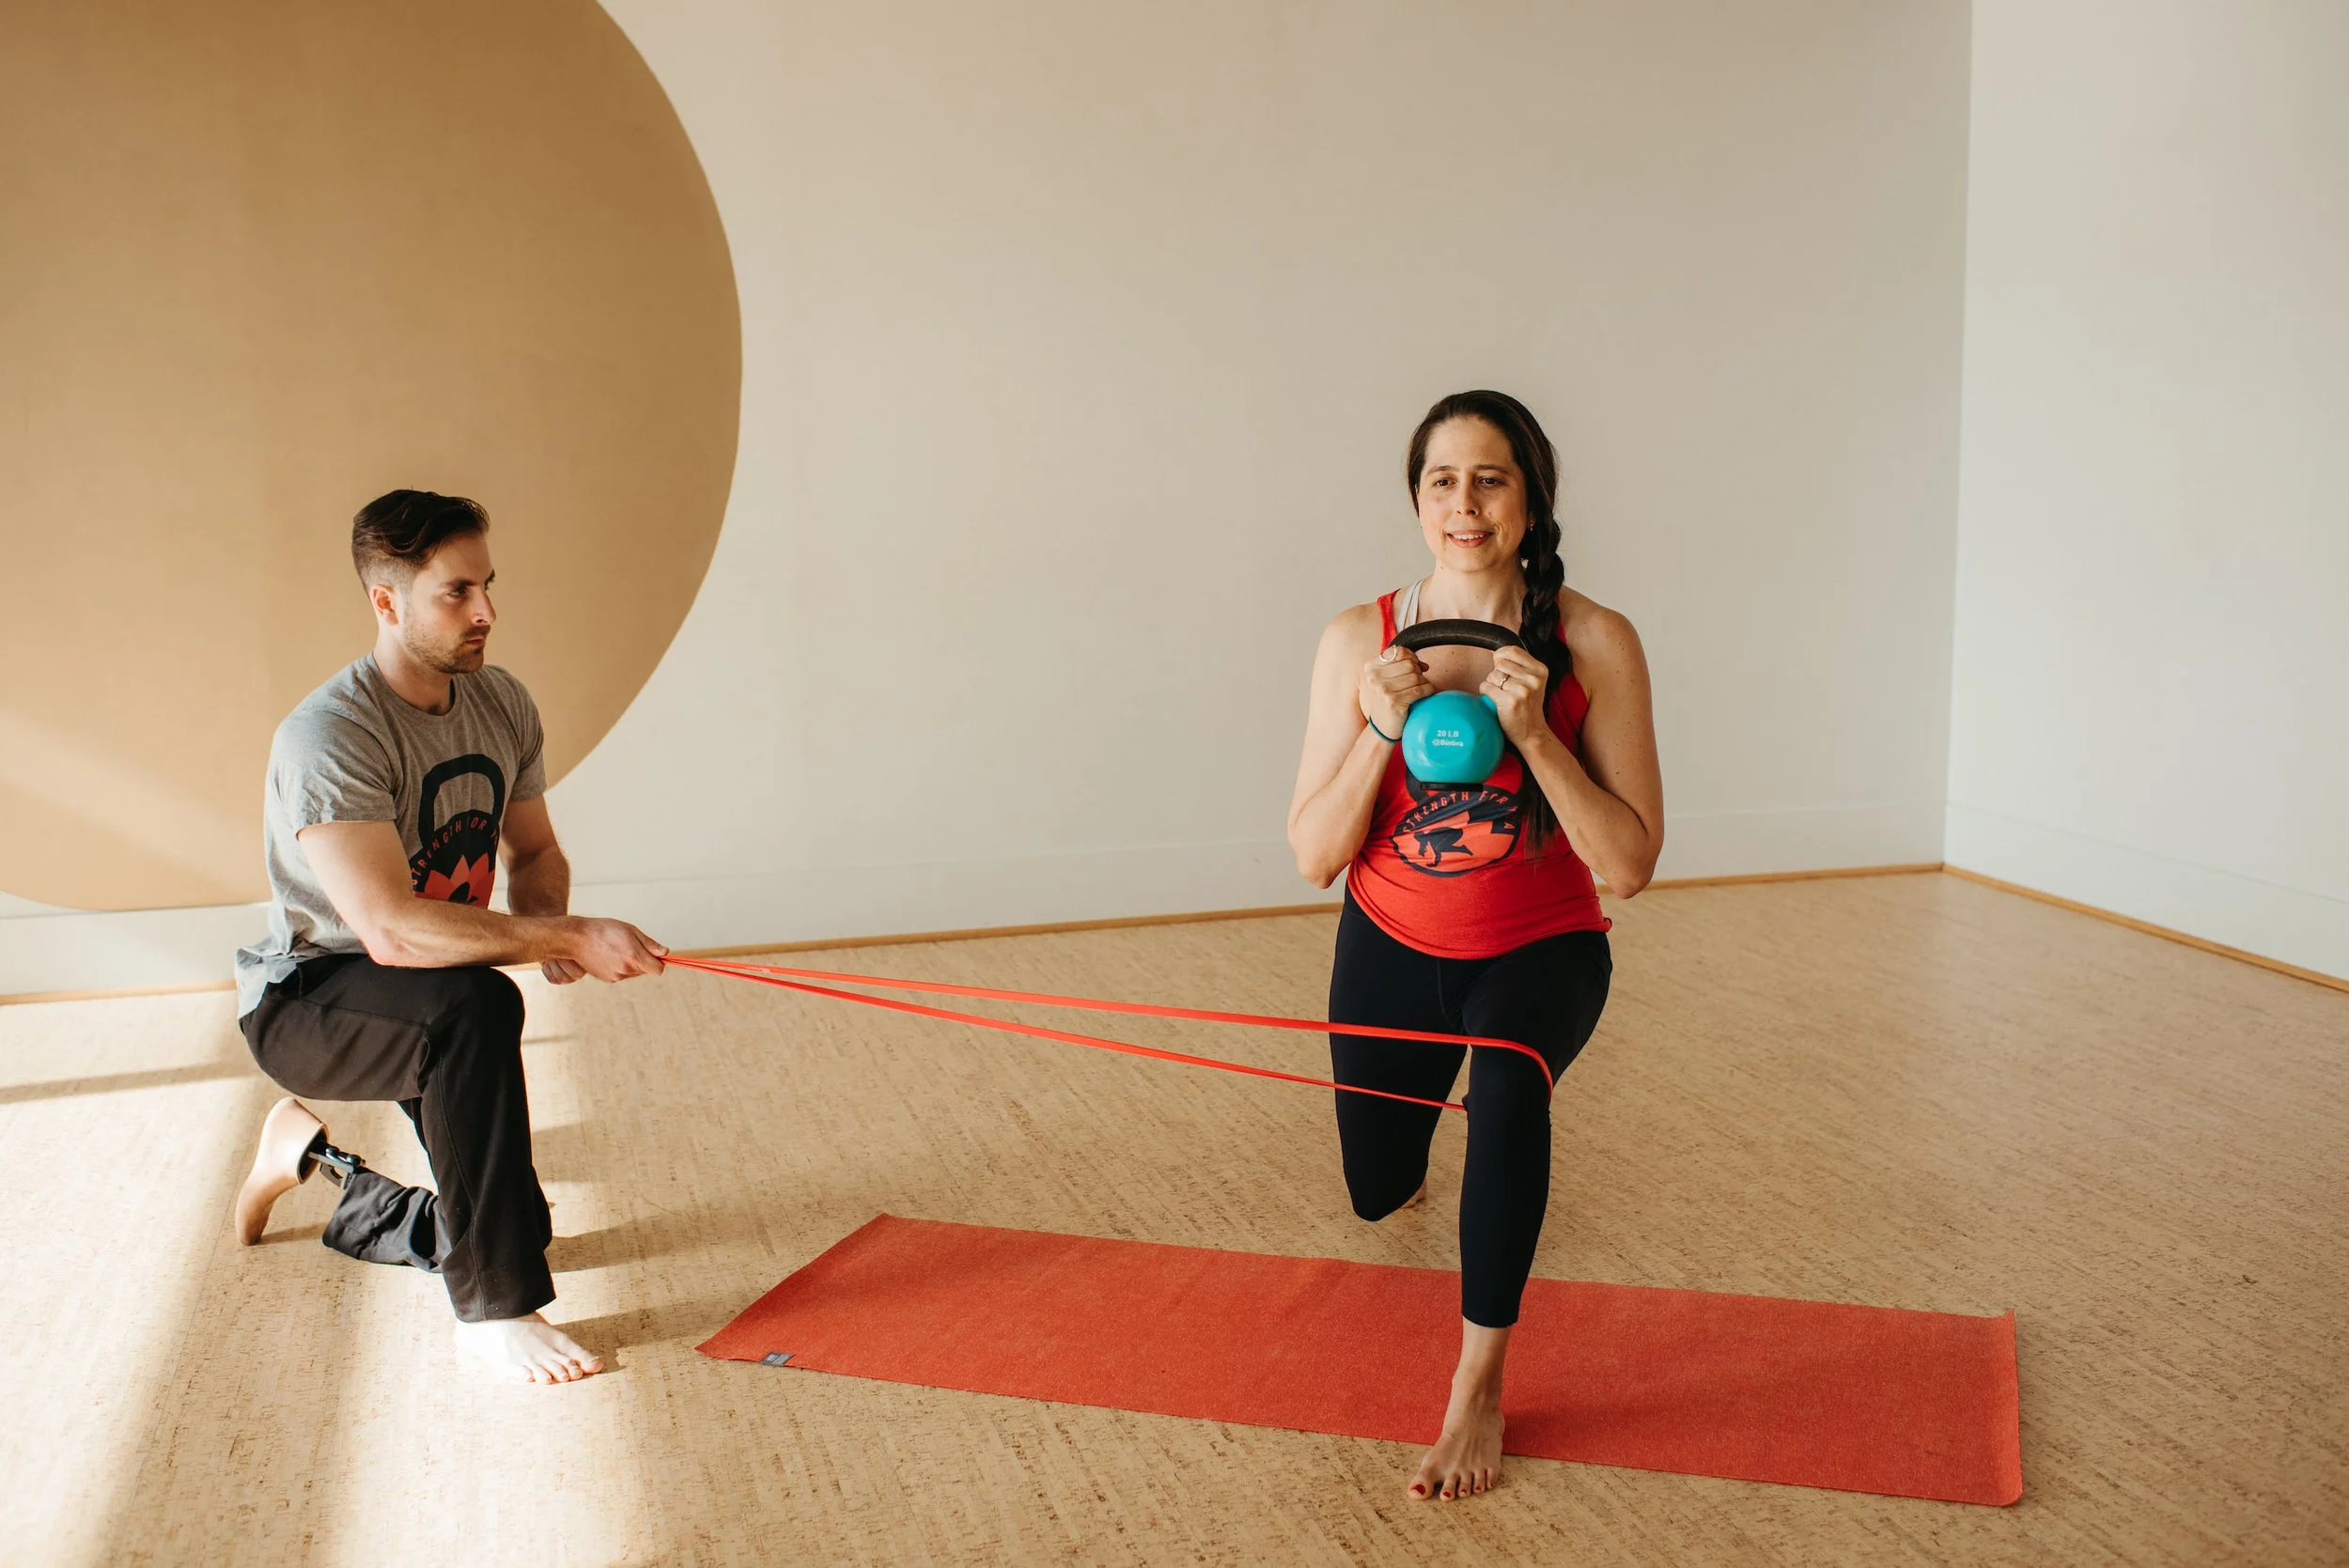
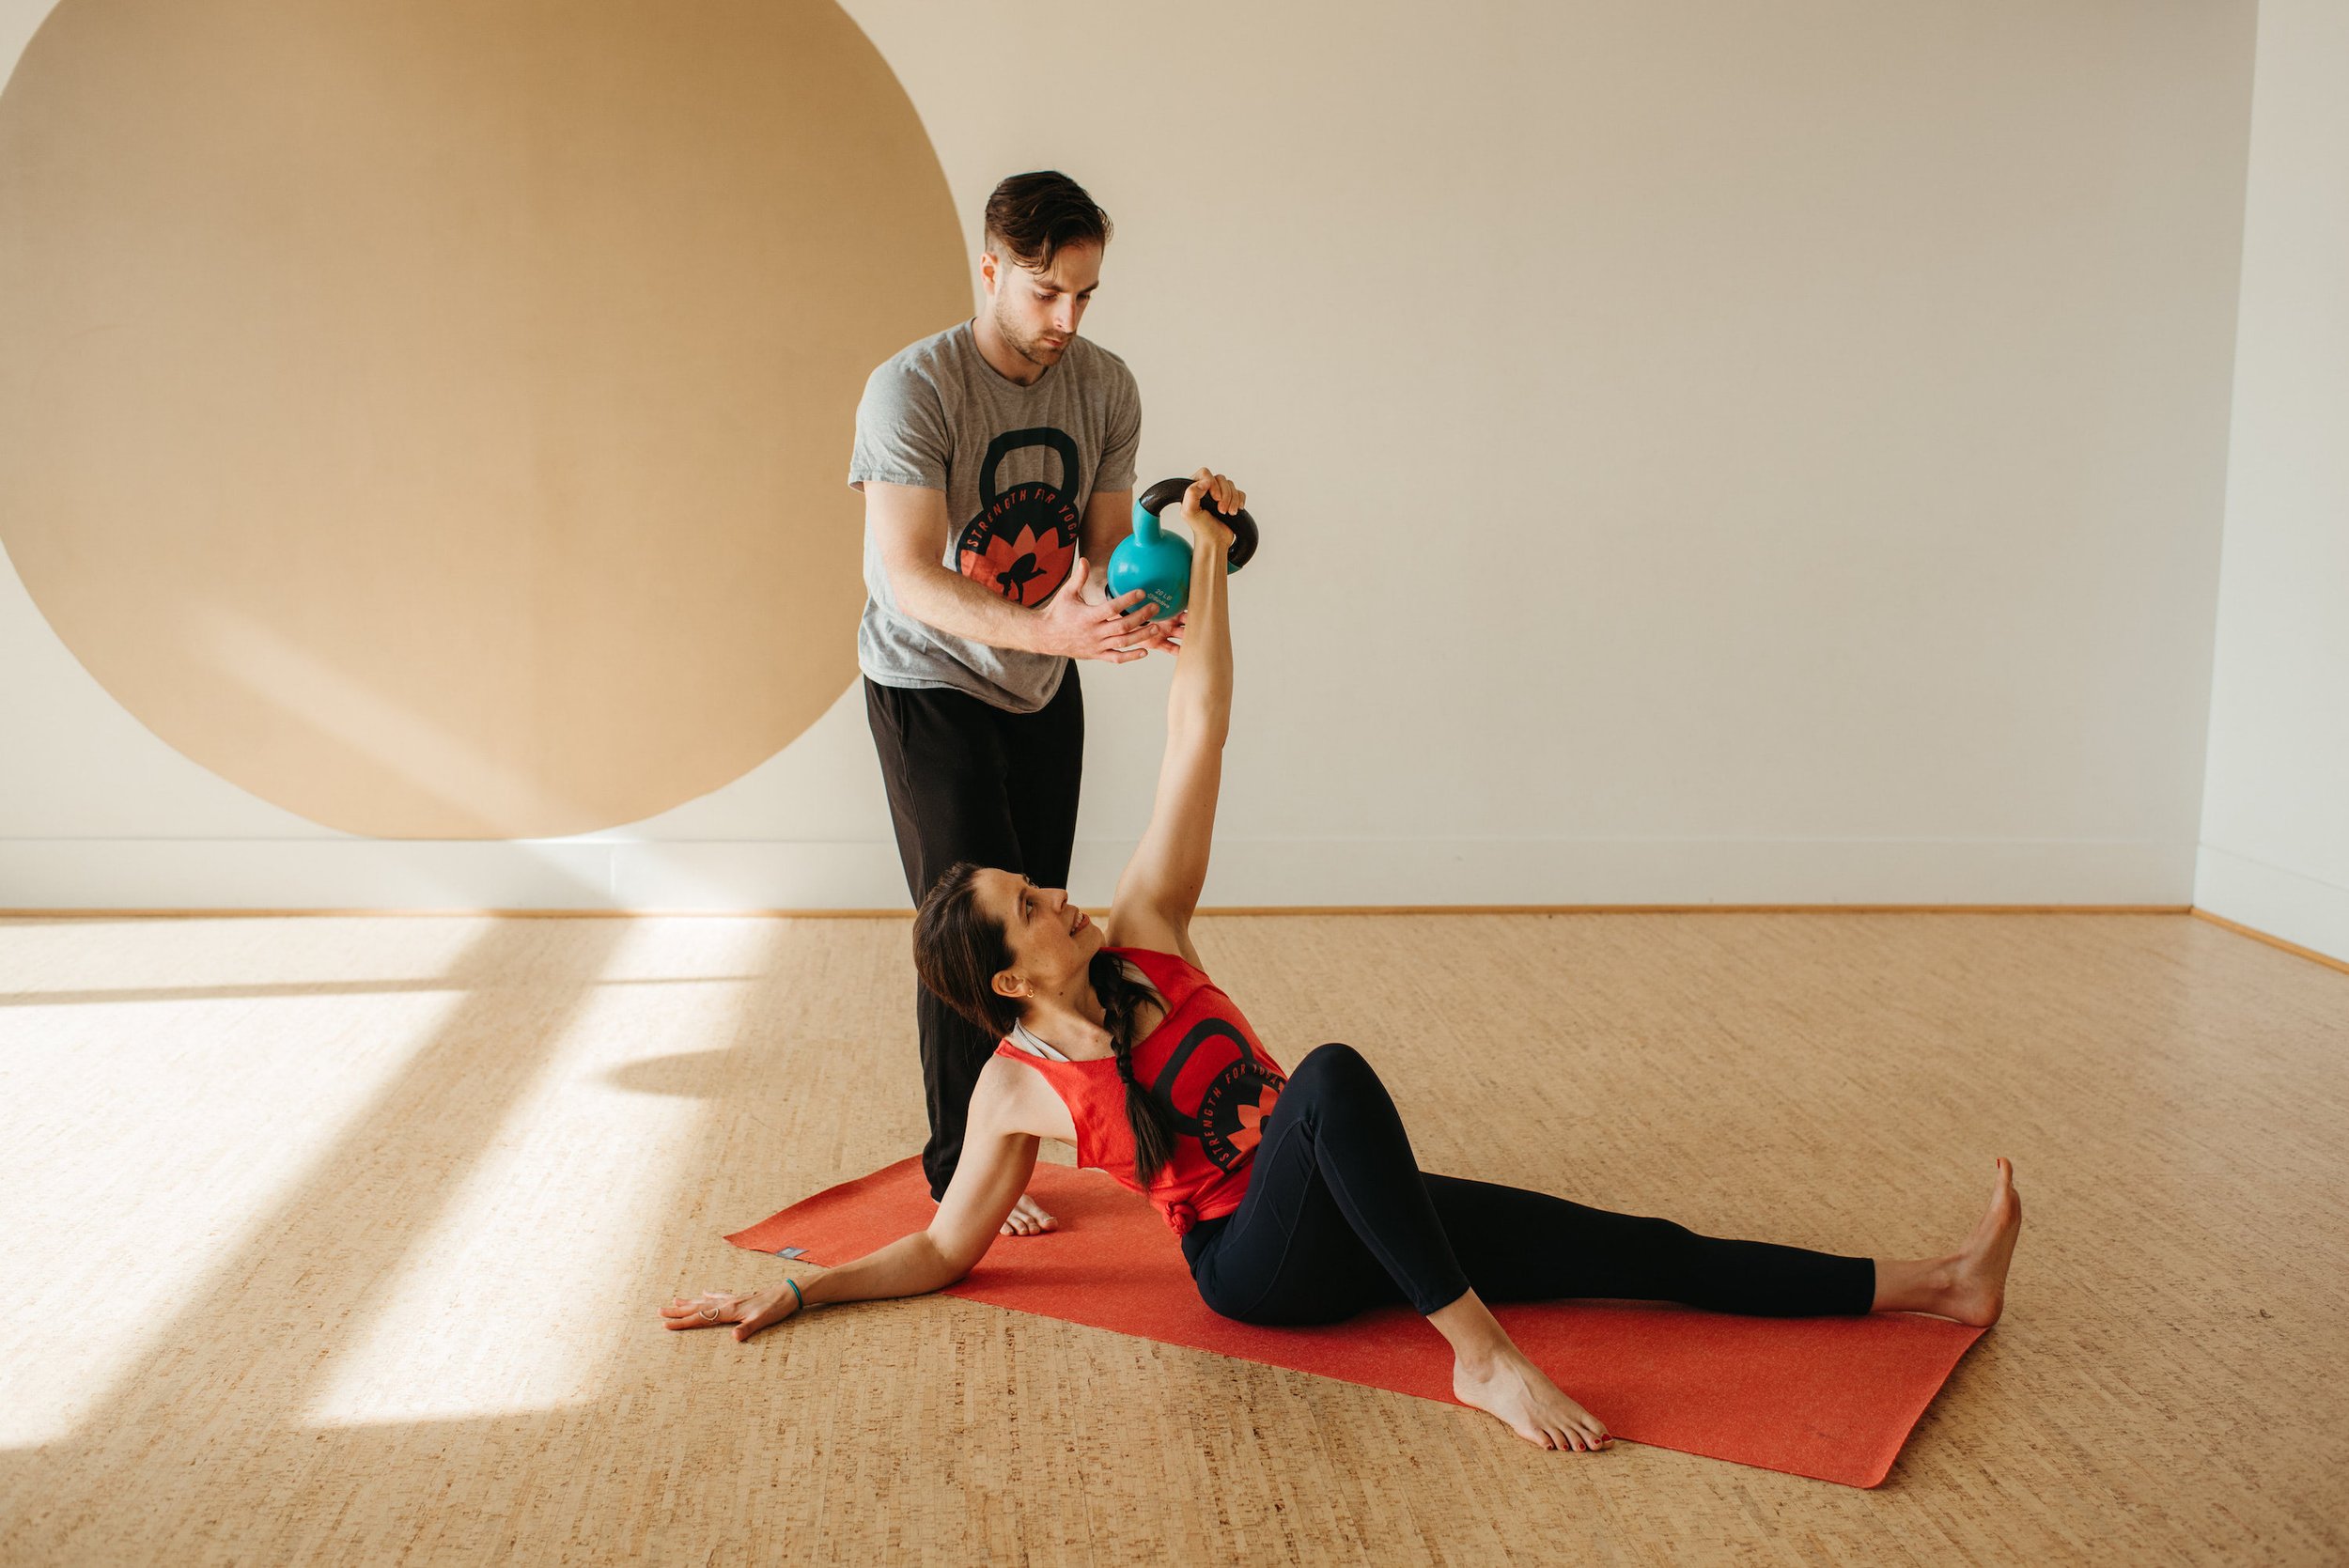
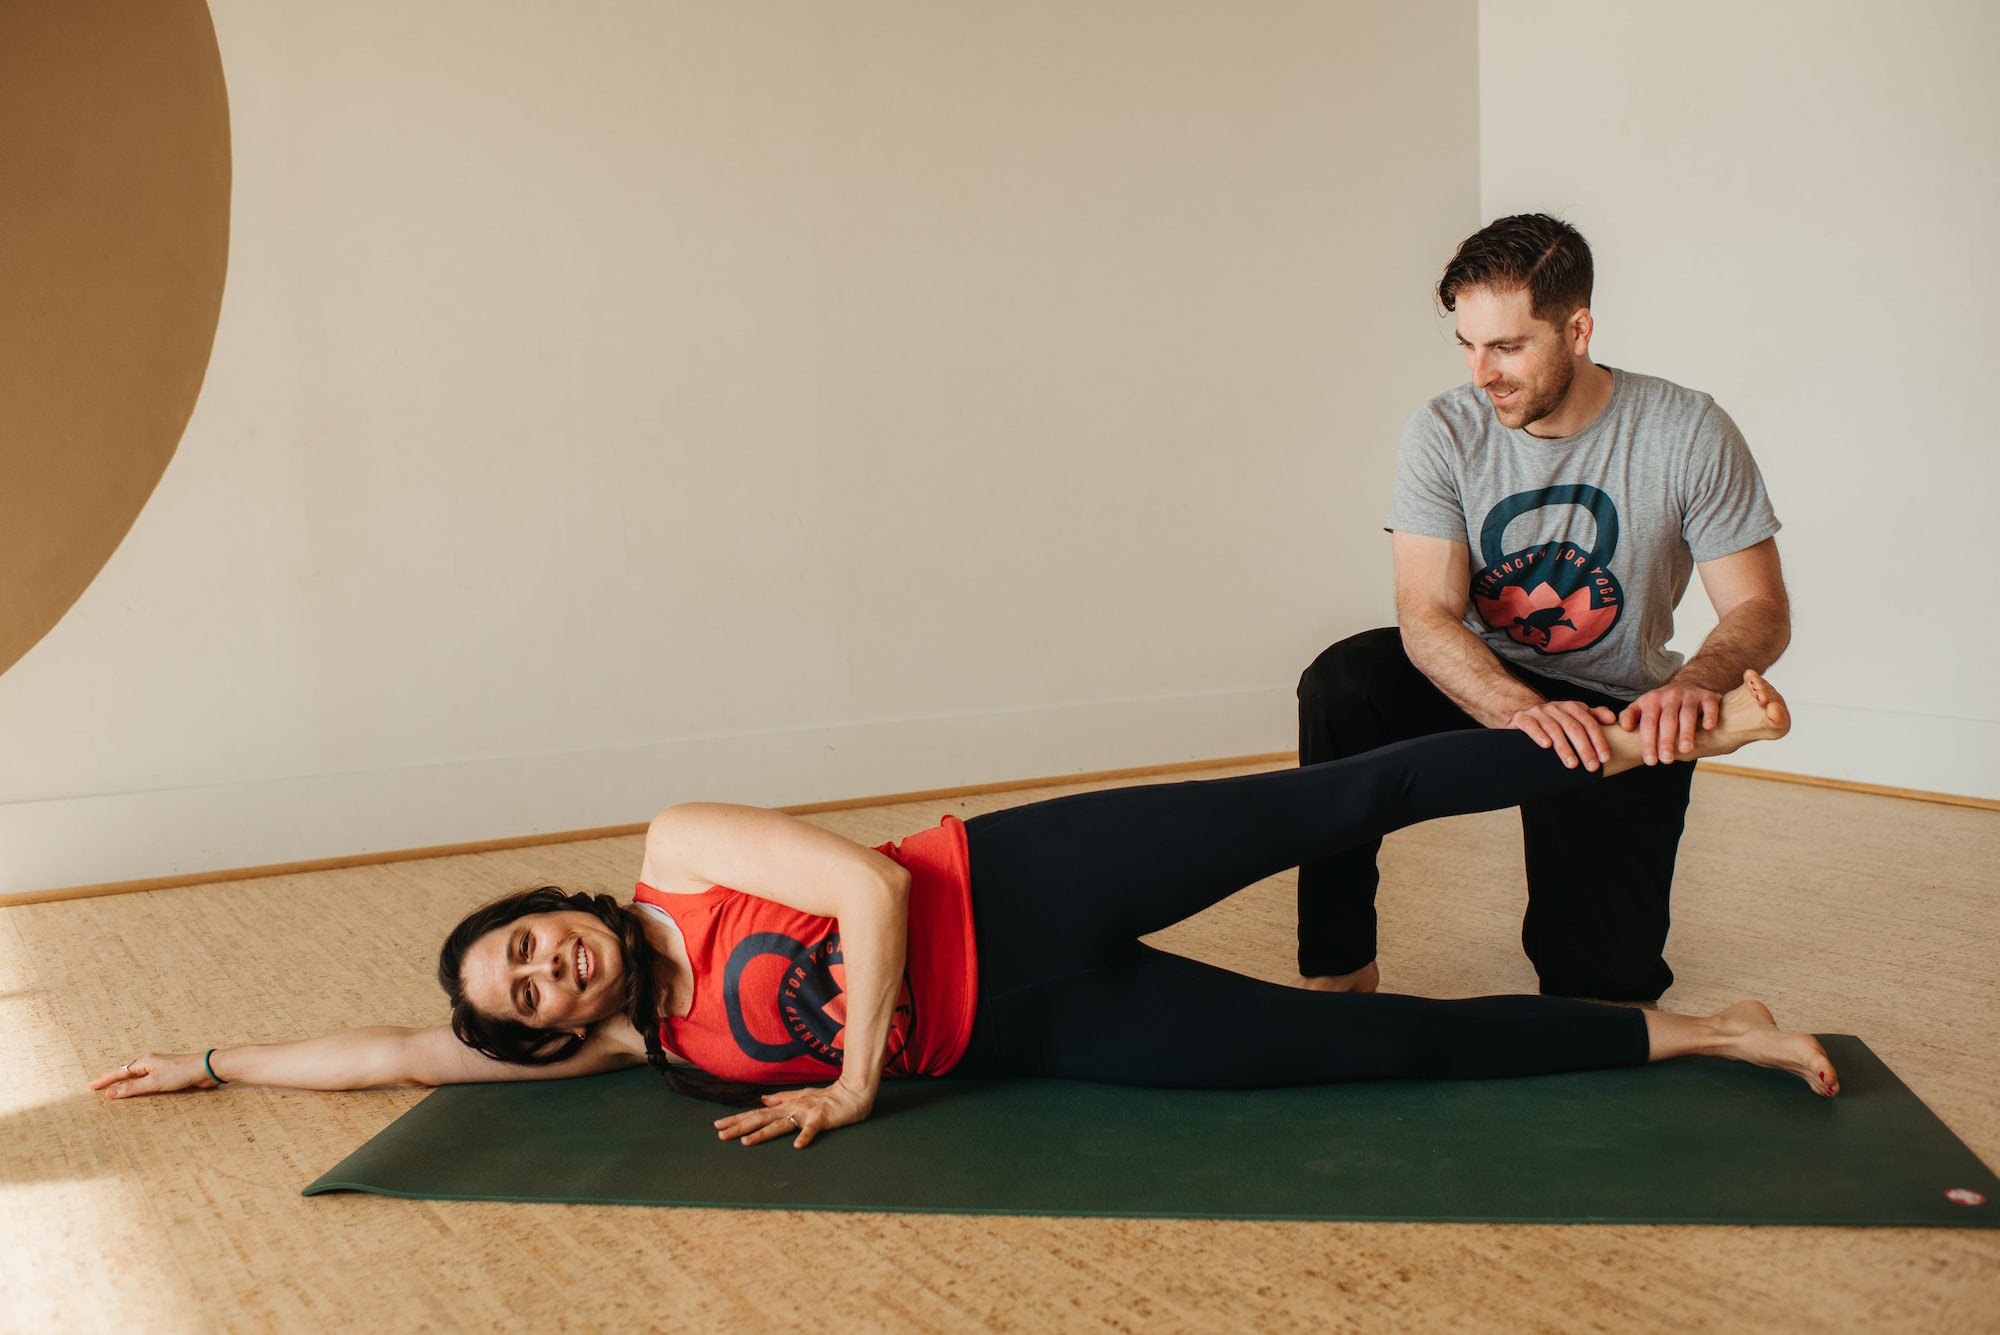
The exercises in Remote Group Training will help you build a foundation of general, well-rounded strength to support and complement your yoga practice. By building strength, we hope your mat practice becomes more easeful. That could mean building up to more challenging poses or simply striking a more harmonious balance between effort and ease.
For many exercises there are multiple options/versions (up to five for some exercises!). For each letter/number combination (e.g., A1), you’ll pick just one version. (Hey, overachievers – that means don’t do all five!) For every version of an exercise, there’s a brief (1-2 minute) video tutorial cueing and demoing proper setup and performance. Simply click on the link, and the video will open in your internet browser.
The reason for including multiple versions is two-fold. First, Remote Group Training is designed to meet you at your current level and familiarity with strength training – whether you’re brand new or you have previous experience. If this is your first time strength training, we recommend starting off with Version 1 of each exercise. If you have previous experience, feel free to start with Version 1 or choose a subsequent version that offers a more appropriate challenge.
The second reason for including multiple versions is related to equipment availability. If the exercise involves any of the optional equipment (e.g., a pull-up bar or bench), there’s always an alternative (labeled “substitution”) that uses only required equipment. To quickly identify the equipment needs for a given exercise while doing the program, we’ve put the required equipment in parentheses after the name of each exercise. If there’s no equipment listed, then the exercise can be performed with just bodyweight.
repetitions & load
For each exercise, instead of one specific number, we provide a target range of repetitions (reps). For example, the recommendation might be for 3 sets of 8-10 reps of an overhead press. In practice, this might look like 10 reps on the first set, 9 reps on the second set, and 8 reps on the third set.
The big idea here is that you choose a load (i.e., weight) that allows you to do between 8 and 10 reps on every set. Think Goldilocks here: the weight should be light enough that you can do at least 8 reps on each of the three sets, but it shouldn’t be so light that you could easily do more than 10 reps on every set.
At the end of each set – especially the last set – you should feel challenged and fatigued. It’s okay to end a set feeling like you could have done one or two more reps. But if you’re ending sets with a lot more reps than that “left in the tank,” your training isn’t going to be as effective, and you should either choose a heavier weight if possible or perform more reps.
If you only have access to a couple of different size weights, then just do your best with what you have. It’s more important that you do enough reps to get within a couple reps of “failure” than it is to stick to the specific rep range we lay out in the program.
For example, suppose we recommend 8-10 reps of an overhead press, but if you can lift your weight for, say, 14 reps. In that case, you should do about 12-14 reps instead of the recommended 8-10. Treat our recommended rep ranges as a general guide, but know that effort matters more than the specific number of reps!
progressing from week to week
To get stronger, strive to do a little bit more each week on each exercise. In strength training land, we call this approach “progressive overload.” Take the 8-10 rep prescription, for example. You might do two sets of 8 reps the first week (2x8), 3x8 the second week, and 3x10 the third week. What about the fourth week?
When you’ve reached the upper end of the rep range, you have a few options to continue challenging yourself. If you have a heavier weight available, you can increase the weight. Or, if there are multiple versions for the exercise, you can progress to the next version. If neither of these options are possible, simply try to perform the exercise more mindfully and with stricter form. Remember, improving technique can be its own form of progression. In other words, if you do the same number of sets and reps as the previous week but with crisper execution, you’re still making progress.
It’s important to note that progress might not always be perfectly linear; some days are stronger than others for a multitude of reasons (recovery, stress, hormones, sleep, nutrition and hydration states, etc.). But we do want to make sure we’re trending up. We don’t just want to stick to the same reps and weight we’ve grown accustomed to week after week. We have to give our body a reason to adapt and get stronger!
monitoring your progress
We’re big believers in logging your training stats (sets, reps, and load). First and foremost, it helps you in the moment to look back on what you did the previous week and try to outperform your past self. Second, reflecting on old training logs and seeing how far you’ve come can be quite empowering!
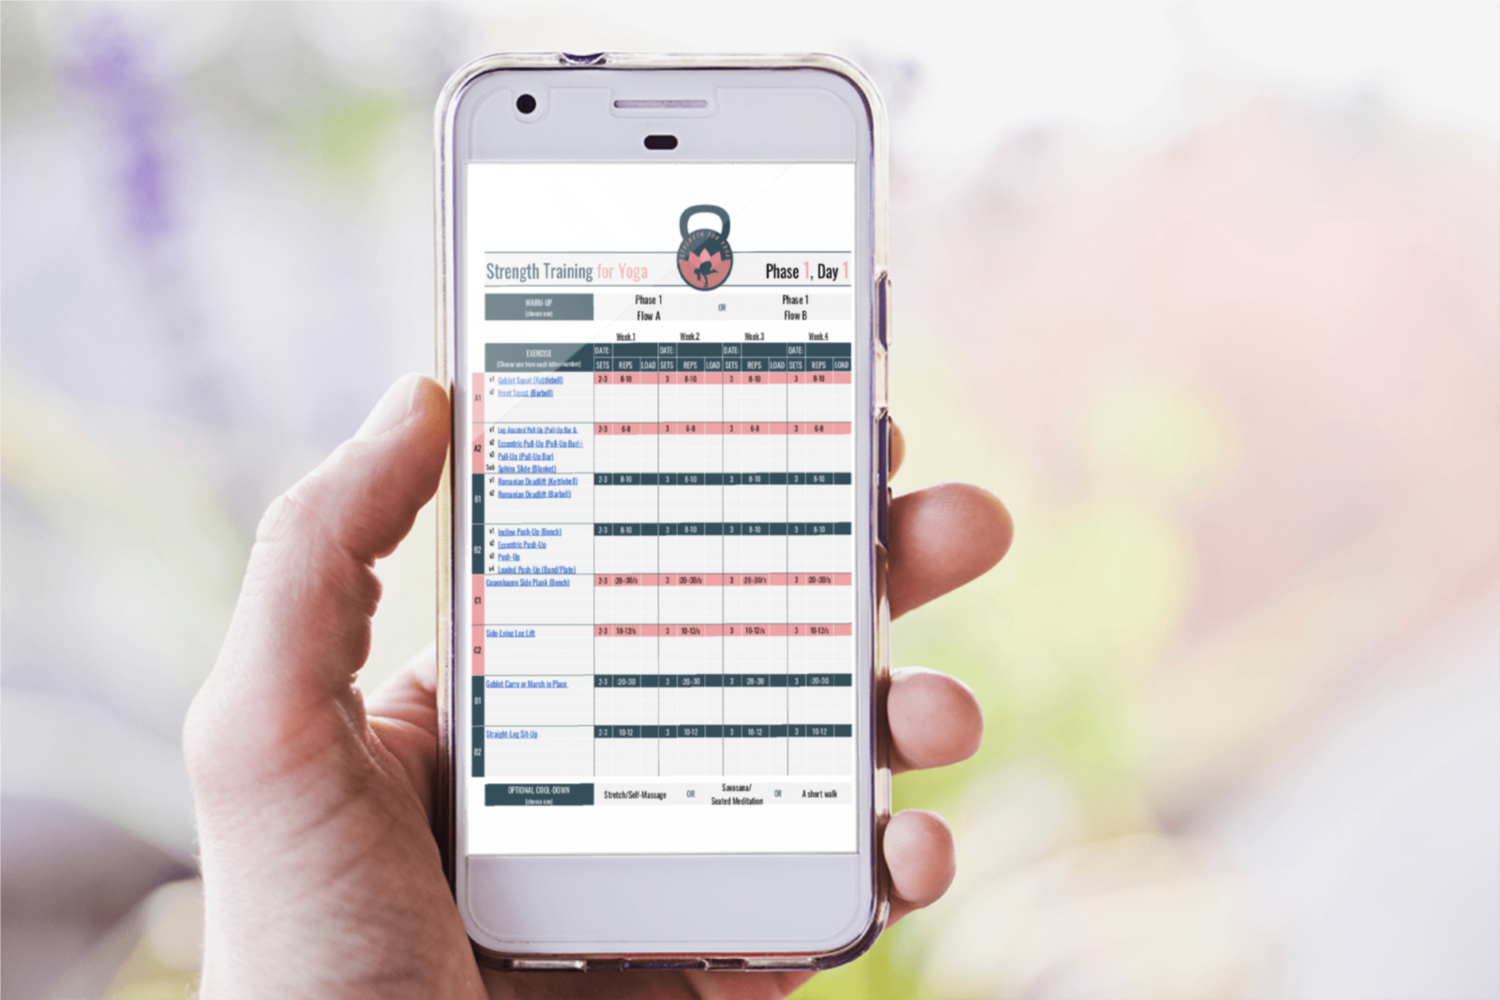
To this end, each month we provide a spreadsheet you can download and log your sessions in. To edit the spreadsheet, you’ll need to click ‘File’ then ‘Make a copy’ in order to start logging. The first tab of the spreadsheet (“READ ME”) describes how to use it. The remaining tabs have all the training sessions in the program (one session per tab). The warm-ups and exercise names are linked to their video tutorials. The spreadsheets are easy to work with both on computer and mobile. Or, if you prefer, you can print them out and log with pencil and paper.
questions?
Ask us in the community forum!
(Or email us or send us a message via the chat box on this page. ;) )